CarPlay for Classic Cars: How to Add Apple CarPlay Without Ruining a Retro Dashboard
If you drive a classic like an 80s or 90s Honda Prelude, Toyota Corolla, or any car built before smartphones existed, you’ve probably run into the same dilemma: you want CarPlay for navigation and a reverse camera, but you don’t want a giant modern touchscreen clashing with your car’s original interior.
It’s a more common problem than most people realize, and there’s no single “best” answer — just a set of trade-offs depending on how much you’re willing to spend, how much of the factory look you’re willing to give up, and how comfortable you are with DIY installation.
Here’s a breakdown of the realistic options.
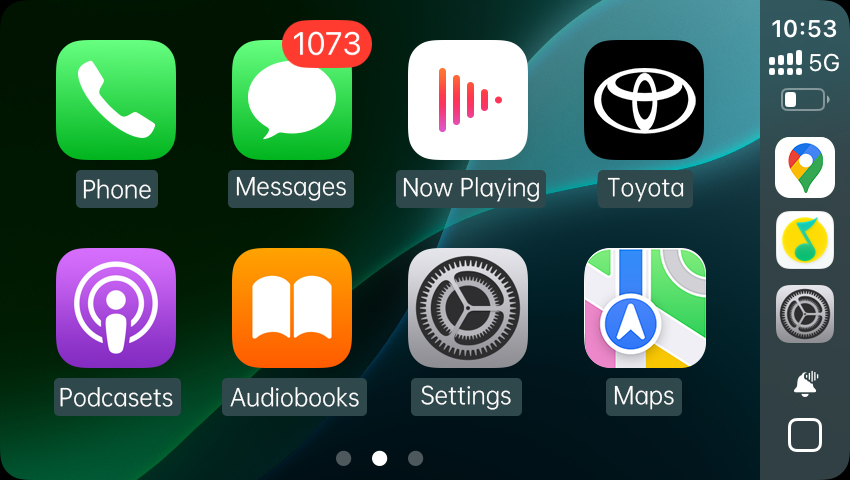
🛑 Why This Is Harder Than It Sounds
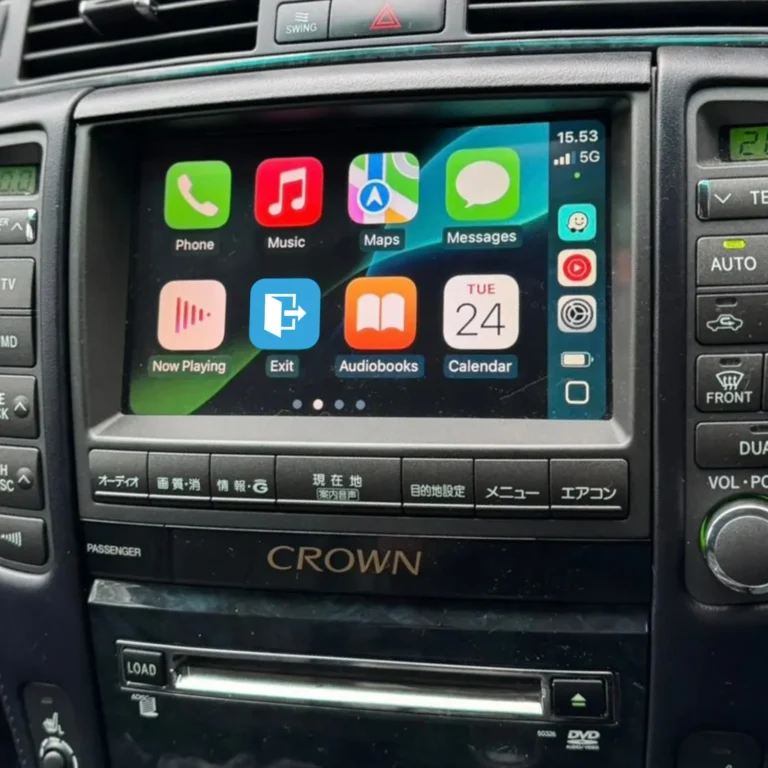
Cars from the pre-smartphone era were never designed with a screen mount, wiring harness, or power source for aftermarket electronics in mind. Retrofitting CarPlay into one of these vehicles generally means picking one of three paths:
- Replace the head unit entirely with a modern single or double-DIN unit
- Add a standalone screen that mounts on or near the dash without touching the factory radio
- Track down a rare flip-out or motorized screen unit that visually disappears when not in use, preserving the factory look
Each comes with real compromises.
🎯 Option 1: Flip-Out / Motorized Touchscreen Head Units
For drivers who care about keeping the dash looking period-correct, a retractable or flip-out touchscreen is the closest thing to “the best of both worlds” — CarPlay when you need it, a blank or closed panel when you don’t.
The catch: name-brand options in this category are limited and expensive. Pioneer’s flip-out CarPlay unit (the AVH-Z7250BT) is one of the few well-known choices, typically retailing around $1,000–$1,100 AUD, though it does go on sale periodically. Beyond that, most flip-out or motorized units on the market are unbranded, sourced from Temu or AliExpress, and come with the usual risks of that territory — inconsistent build quality, unclear return policies, and no established reputation to check reviews against.
Best for: owners who specifically want to preserve a retro aesthetic and are willing to pay a premium for a known brand, or who are comfortable taking a chance on a no-name unit from an online marketplace.
🎯 Option 2: Double-DIN Replacement Units
If preserving the exact factory look isn’t a dealbreaker, swapping in a modern double-DIN unit is the most straightforward and reliable path. Units from established car audio brands — Sony’s 5000 and 8000 series, or Pioneer’s standard CarPlay lineup — are widely available, well-documented, and easy to source support and installation help for.
This usually requires a double-DIN dash kit/surround adapter, since most classic cars were built around a single-DIN or non-standard factory opening.
Best for: owners prioritizing reliability, easy sourcing, and straightforward installation over keeping the factory look 100% intact.
🎯 Option 3: Portable/Standalone CarPlay Screens
The newest and cheapest category is portable CarPlay screens — compact touchscreens that mount to the dash with a suction arm or adhesive plate and connect via Bluetooth, an FM transmitter, or an aux cable, without touching the factory head unit at all. Many now come bundled with a dash cam and reverse camera kit for well under $250 AUD.
The obvious upside is that installation is completely non-invasive and reversible — nothing about the original wiring or head unit is touched. The trade-off is a less integrated look (it’s a screen bolted onto the dash, not built into it) and generally lower build quality and support compared to name-brand head units.
Best for: owners who want the cheapest, fastest, fully reversible option and don’t mind a visibly “added-on” screen.
🧰 A Note on the Fully Custom DIY Route
A small number of owners go further and build a genuinely custom integration — stripping the factory head unit down to retain climate and control functions, running a VTR adapter into an aftermarket unit, and even feeding a separate streaming device through an HDMI-to-RCA converter for a dual-screen setup.
This can produce an excellent result, but it demands real automotive electrical knowledge, a full wiring schematic for the vehicle, and a lot of trial and error. It’s not something to attempt without prior experience — and most professional installers will turn the job down precisely because of how car-specific and time-consuming it is.
✅ Quick Comparison
| Option | Cost | Keeps Factory Look | Installation Difficulty |
|---|---|---|---|
| Flip-out/motorized head unit | $$$ (name brand) or $ (unbranded) | High | Moderate |
| Double-DIN replacement | $$ | Low | Moderate |
| Portable standalone screen | $ | Low | Very Easy |
| Full custom DIY build | Varies (+ your time) | High | Very Hard |
Final Thoughts
There’s no universal right answer here — it comes down to how much of the original dashboard you’re willing to sacrifice, your budget, and your appetite for a DIY project. If you’re leaning toward one of the cheaper unbranded options from Temu or AliExpress, it’s worth searching for actual owner installation photos or videos before ordering, since spec sheets alone can be misleading for this category of product.